


This guide is meant to streamline you to your first Kubernetes (k8s) cluster on Microsoft Azure, with the essentials to monitor and scale your container service. In the interest of time/reading, this will NOT be an indepth tutorial on Kubernetes.
Prerequisites
We will be using cli tools and package managers to provision azure resources and to manage our clusters.
Install Azure CLI
Azure CLI is used to deploy and manage resources within your azure subscription
Install on Mac with Homebrew
|
|
Install on Windows
Download and run Azure CLI Installer (MSI)
For more informaion on installing Azure CLI
Install Kubernetes CLI (kubectl)
Kubectl is used to deploy and manage your kubernetes cluster
Install on Mac with Homebrew
|
|
Install on Windows
- Download latest release from here
- Add binary to PATH
- Open Control Panel
- Open Advanced System Properties
- Click Environment Variables
- Edit Path under System variables
- Add Path to kubectl executable
For more information on installing Kubernetes CLI (kubectl)
Setting up Azure Container Service
Create a Resource Group and Create the Azure Container Service within that group. This will create a cluster named MyK8sCluster with 1 linux master and 3 linux agent nodes.
|
|
Connect to your Cluster
Kubernetes CLI needs to be configured to access your cluster from your machine. This command configures your .kube/config.
|
|
Monitoring your Cluster
Although k8s will try to keep up your clusters health, proactive monitoring is good for seeing CPU, memory, and disk metrics as well as how your pod is behaving within your cluster.
Ensure Heapster is installed
Heapster is a pod in your cluster that is responsible for aggregating monitoring data across all nodes and pods within your cluster. It is necessary to have Heapster for viewing data on Grafana.
|
|
Basic Node Metrics with Kubectl
The fastest way to see metrics about your node is to use kubectl.
|
|
Installing Grafana and Influx DB
Download InfluxDB deployment manifest by using curl or by going to the url and copy and pasting the source
1curl -o ./influxdb.yaml -k https://raw.githubusercontent.com/kubernetes/heapster/release-1.5/deploy/kube-config/influxdb/influxdb.yamlDownload Grafana deployment manifest by using curl or bu going to the url and copy and pasting the source
1curl -o ./grafana.yaml -k https://raw.githubusercontent.com/kubernetes/heapster/release-1.5/deploy/kube-config/influxdb/grafana.yamlEdit both influxdb.yaml and grafana.yaml and remove
1234567#influx.yamlkubernetes.io/cluster-service: 'true'kubernetes.io/name: monitoring-influxdb#grafana.yamlkubernetes.io/cluster-service: 'true'kubernetes.io/name: monitoring-grafanaRun both influxedb and grafana manifest files. You should see both influxdb and grafana as
Runningpods in yourkube-systemnamespace. Notice the newly created grafana and influxdb pods.1234567891011121314151617181920kubectl apply -f influxdb.yamlkubectl apply -f grafana.yamlkubectl get pods --namespace kube-systemNAME READY STATUS RESTARTS AGEheapster-342135353-zq0fv 2/2 Running 0 4dkube-addon-manager-k8s-master-631d3265-0 1/1 Running 0 8dkube-apiserver-k8s-master-631d3265-0 1/1 Running 0 8dkube-controller-manager-k8s-master-631d3265-0 1/1 Running 0 8dkube-dns-v20-3003781527-13rws 3/3 Running 0 8dkube-dns-v20-3003781527-n6rj6 3/3 Running 0 8dkube-proxy-3fwdq 1/1 Running 0 8dkube-proxy-7698s 1/1 Running 0 8dkube-proxy-d421d 1/1 Running 0 8dkube-proxy-fvp2m 1/1 Running 0 8dkube-scheduler-k8s-master-631d3265-0 1/1 Running 0 8dkubernetes-dashboard-924040265-tflfr 1/1 Running 0 8dmonitoring-grafana-1219411114-bmgd8 1/1 Running 0 52smonitoring-influxdb-3087546307-wlxgn 1/1 Running 0 1mtiller-deploy-4061877079-d758t 1/1 Running 0 2hConfigure Heapster to use InfluxDB as the data store for your monitoring metrics. Edit your heapster deployment by going under spec > containers > command property and changing the contents from:
123- command:- /heapster- --source=kubernetes.summary_api:""to
1234- command:- /heapster- --source=kubernetes.summary_api:""- --sink=influxdb:http://monitoring-influxdb.kube-system.svc:8086Save and exit from your editor. This will trigger a change in the deployment. Heapster will restart using InfluxDB as the data store.
To verify your Heapster deployment change
12345678910111213getHeapster() { kubectl get pods -o go-template --template '{{range .items}}{{.metadata.name}}{{"\n"}}{{end}}' --namespace=kube-system | grep -i heapster; }kubectl logs $(getHeapster) --namespace=kube-system -c heapsterI1130 01:11:32.014809 1 heapster.go:72] /heapster --source=kubernetes.summary_api:"" --sink=influxdb:http://monitoring-influxdb.kube-system.svc:8086I1130 01:11:32.014884 1 heapster.go:73] Heapster version v1.4.2I1130 01:11:32.015079 1 configs.go:61] Using Kubernetes client with master "https://10.0.0.1:443" and version v1I1130 01:11:32.015091 1 configs.go:62] Using kubelet port 10255I1130 01:11:32.023608 1 influxdb.go:278] created influxdb sink with options: host:monitoring-influxdb.kube-system.svc:8086 user:root db:k8sI1130 01:11:32.023678 1 heapster.go:196] Starting with InfluxDB SinkI1130 01:11:32.023689 1 heapster.go:196] Starting with Metric SinkI1130 01:11:32.120803 1 heapster.go:106] Starting heapster on port 8082I1130 01:12:05.123163 1 influxdb.go:241] Created database "k8s" on influxDB server at "monitoring-influxdb.kube-system.svc:8086"
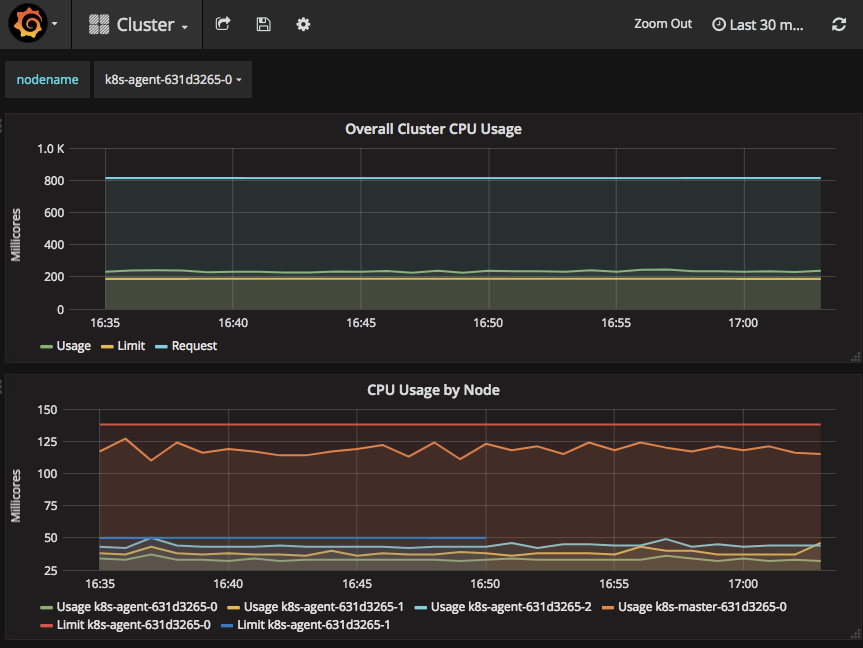
Viewing Grafana Dashboards
- Run
kubectl proxy - To view your cluster metrics go to: http://localhost:8001/api/v1/namespaces/kube-system/services/monitoring-grafana/proxy/dashboard/db/cluster
- To view your pod metrics go to: http://localhost:8001/api/v1/namespaces/kube-system/services/monitoring-grafana/proxy/dashboard/db/pod
Deploying your First Pod
Now that you have set up monitoring on your cluster, it is time to deploy your first pod. For this example, we will be deploying a simple node app that has already been uploaded to dockerhub. Your clusters state is defined through manifest files. K8s will continue checking if the current state is the same as what was defined in the manifest files.
Download the example deployment manifest by using curl or going to the url and copy and pasting the source
1curl -o ./hello-kubernetes.yaml -k https://raw.githubusercontent.com/wesyao/hello-kubernetes-app/master/deployment/hello-kubernetes.yamlThis manifest file describes to k8s what you want deployed and how the state of the cluster should look like. In this manifest file, we will be deploying the hello-kubernetes-app from dockerhub, requiring that there will be 3 replicas of this pod, and specifying what ports we want to traffic to flow through. We also define a service that exposes an external IP for us to hit once deployed. For more information regarding how to write your own manifest files, see the k8s documentation.
1234kubecutl apply -f hello-kubernetes.yamldeployment "deployment-hello-kubernetes" configuredservice "service-hello-kubernetes" configuredVerify your deployment was successful. Notice the service-hello-kubernetes is allocating an
External IPso that we can access our pods from outside the cluster.12345678910kubecutl get pods,svcNAME READY STATUS RESTARTS AGEpo/deployment-hello-kubernetes-2906022042-0fxdz 1/1 Running 0 7spo/deployment-hello-kubernetes-2906022042-29l3j 1/1 Running 0 7spo/deployment-hello-kubernetes-2906022042-kb519 1/1 Running 0 7sNAME TYPE CLUSTER-IP EXTERNAL-IP PORT(S) AGEsvc/kubernetes ClusterIP 10.0.0.1 <none> 443/TCP 9dsvc/service-hello-kubernetes LoadBalancer 10.0.138.10 <pending> 80:31934/TCP 7sOnce your service has finished allocating an
External IP, you can access this from your favorite browser. Once you enter theExternal IPin your browser, you should seeHello Kubernetes!.12345kubectl get svcNAME TYPE CLUSTER-IP EXTERNAL-IP PORT(S) AGEkubernetes ClusterIP 10.0.0.1 <none> 443/TCP 9dservice-hello-kubernetes LoadBalancer 10.0.138.10 104.42.238.180 80:31934/TCP 5m
Patting Yourself on the Back
Congratulations! Sometimes it’s hard to remember to stop and smell the roses, but you’ve now stood up your first kubernetes cluster, added monitoring on your nodes, and deployed your first application on your cluster! This is no small feat. There is a vast amount of knowledge and details that weren’t covered here, but there is tons of information on the k8s documentation to give you a deeper dive on the concepts we covered.